Apache JMeter is a fine tool for different types of web tests – compatibility, performance, integration. This post is about recording, running and parametrizing basic tests.
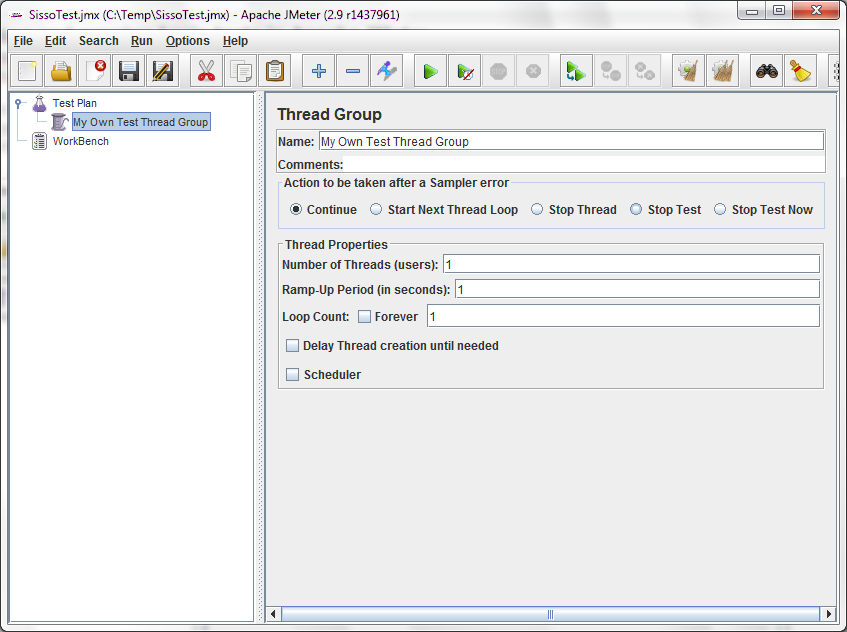
First, start by running JMeter, you start with an empty Test Plan. Give it a name and add a Thread Group to the Test Plan (right click the Test Plan node and select Add/Threads/Thread Group).
Next step would be to set up an HTTP Proxy Server and a Recording Controller. These two will allow me to “record” the browser’s session instead of creating all requests manually.
Right-click the WorkBench node and add a Non-Test Element, HTTP Proxy Server. Add a Recording Controller to the Thread Group. In the HTTP Proxy’s settings tab, select the newly created Recording Controller as the target controller.


Now navigate to a web site you want to test. Each action is recorded under the recording controller.
To be able to replay the sequence of tests and see the results, add a listener to the thread group, the View Results Tree listener. Now you can click the Start button (or select Run/Start from the menu) and click your listener to see the replayed session. Use the Clear All button (Run/Clear All) to clear the listener.

In the next post we will create basic assertions and also modify the flow so that values returned from requests are used in consecutive posts.
No comments:
Post a Comment